Introduction
In part 2 we turned our Intel N100 box into a Docker host and ran our first container, Portainer. But to reach it we typed something like https://192.168.68.110:9443 - an IP address and a port number to memorise. Add a few more services and you’re juggling a notebook full of :9000, :8096, :2283. That gets old fast.
What is 192.168.68.110? It’s the static IP of our home lab server - the one we fixed in place back in part 2. Yours will almost certainly be different; run ip a on the server to find it, and mentally swap in your own address wherever you see 192.168.68.110 in this guide.
This post fixes that, and throws in network-wide ad-blocking for free. By the end you’ll have:
- AdGuard Home filtering ads and trackers for every device on your network - phones, TVs, laptops - at the DNS level.
- A Caddy reverse proxy sitting in front of your containers.
- Clean local domains like
http://portainer.home.arpaandhttp://dns.home.arpainstead of IP-and-port. - Your router handing those superpowers to the whole house automatically.
It builds directly on the Docker host from part 2. Let’s get into it.
How the Pieces Fit Together
Three things cooperate here, and it’s worth seeing the whole picture before we build it:
- AdGuard Home is a DNS server. Every device asks DNS “what’s the IP for
youtube.com?” - AdGuard answers, but refuses to answer for known ad and tracker domains, so those never load. That’s the ad-blocking. Because it’s also our DNS server, we can teach it custom answers: “photos.home.arpa? That’s the home lab,192.168.68.110.” - Caddy is a reverse proxy. It listens on one port (80) and, based on the hostname in the request, forwards to the right container.
portainer.home.arpagoes to the Portainer container,dns.home.arpagoes to AdGuard, and so on. - The router tells every device to use AdGuard for DNS. Set it once, and the whole network gets ad-blocking and your custom domains - no per-device setup.
So a request for http://portainer.home.arpa flows: device → AdGuard (resolves the name to the server’s IP) → Caddy (sees the hostname, forwards to the Portainer container). Two small services, a much nicer home lab.
Why home.arpa? It’s the domain officially reserved for home networks (RFC 8375), so it will never collide with a real domain on the internet. But the bigger practical reason is that it keeps plain http:// working without browser warnings:
- No forced HTTPS. Some TLDs (
.dev,.app, and others) sit on the browsers’ built-in HSTS preload list, which silently upgrades every request to HTTPS. Our local services are served over plainhttp://for now, so a preloaded TLD would make the browser refuse the connection or throw a certificate error.home.arpaisn’t preloaded, sohttp://portainer.home.arpasimply loads. - Treated as a real hostname. Browsers won’t try to “search” it or second-guess the address the way they sometimes do with a bare made-up word.
- No clashes with
.localor.lan..localis reserved for mDNS (Bonjour/Avahi), and using it for ordinary DNS rewrites leads to flaky resolution;.lanis just an unofficial convention with no guarantees behind it.
Step 1: Clear Port 53
A DNS server needs port 53. On Ubuntu, systemd-resolved is already listening there, so AdGuard won’t be able to start until we move it aside. This is the single most common thing that trips people up, so we do it first.
Edit /etc/systemd/resolved.conf and set the stub listener off:
[Resolve]DNSStubListener=noThen make sure the system still has a working resolver for itself, and restart the service:
sudo ln -sf /run/systemd/resolve/resolv.conf /etc/resolv.confsudo systemctl restart systemd-resolvedConfirm nothing is holding port 53 anymore:
sudo ss -lntup 'sport = :53'If that prints nothing, port 53 is free and we can hand it to AdGuard.
Step 2: Run AdGuard Home
Following the convention from part 2, every service gets its own folder under ~/apps. Create one for AdGuard:
mkdir -p ~/apps/adguardhomeCreate ~/apps/adguardhome/docker-compose.yaml:
services: adguardhome: container_name: adguardhome image: adguard/adguardhome:v0.107.74 restart: unless-stopped volumes: - ./work:/opt/adguardhome/work - ./conf:/opt/adguardhome/conf ports: - 53:53/tcp - 53:53/udp # DNS itself - 3000:3000/tcp # first-run setup wizard networks: - reverse-proxy
networks: reverse-proxy: name: reverse-proxyA couple of things to notice. We publish port 53 (that’s the DNS service the whole network will use) and port 3000 (only needed for the one-time setup wizard). And we attach the container to a network called reverse-proxy - a shared network that Caddy will also join later, so the two can talk to each other by container name. Compose creates it automatically the first time.
Bring it up:
cd ~/apps/adguardhomedocker compose up -dStep 3: Run Through the AdGuard Setup Wizard
Open the setup wizard in your browser:
http://192.168.68.110:3000(Use your server’s IP.) The wizard walks you through a few screens:
- Admin web interface - leave it on port 80. (We don’t publish 80 to the host because Caddy will own that port; you’ll reach the dashboard through Caddy in a moment.)
- DNS server - port 53, listening on all interfaces.
- Create your admin username and password.
Once you finish, AdGuard is running and filtering. A few settings worth doing right away under Settings → DNS settings:
- Upstream DNS servers - where AdGuard forwards the queries it does answer. Cloudflare (
https://1.1.1.1/dns-query) or Quad9 (https://dns.quad9.net/dns-query) over DNS-over-HTTPS are good, private defaults. - Filters → DNS blocklists - the default AdGuard list is enabled out of the box; that alone blocks the bulk of ads and trackers.
You now have a working ad-blocking DNS server. Nothing is using it yet, though - that’s the router’s job.
Step 4: Point Your Router at AdGuard
This is the step that flips ad-blocking on for your entire network at once. The idea: your router hands out network settings to every device via DHCP, including which DNS server to use. We change that to your home lab’s IP.
In your router’s admin page, look for DHCP or LAN settings, find the DNS server field, and set it to your server’s IP:
Primary DNS: 192.168.68.110Every router’s interface is a little different, so here are the official guides for the most popular brands - they’ll show you exactly where the DNS field lives on your model:
| Router brand | Official DNS setup guide |
|---|---|
| TP-Link | How to change the DNS settings |
| ASUS | Set up DNS server |
| NETGEAR | Set static DNS servers on your NETGEAR router |
| Linksys | Configuring the DNS settings of your network |
| AVM (FRITZ!Box) | Configuring different DNS servers in the FRITZ!Box |
Some of these guides set the router’s upstream (WAN) DNS, which also works - the router just forwards everything to AdGuard. For the best results, set the DNS that the router hands out over DHCP to LAN clients, so each device queries AdGuard directly and shows up individually in its dashboard.
A few practical notes:
- Set a public DNS as the secondary. Put a public resolver like
8.8.8.8(Google) or1.1.1.1(Cloudflare) in the secondary slot. This is your safety net: if the home lab is ever down - a reboot, an update, a dead drive - name resolution falls back to the public server and the whole household’s internet keeps working. You lose ad-blocking until AdGuard is back, but nobody’s stuck without the internet. A server that’s off should never take the entire network down with it. - Reconnect your devices (or wait for the DHCP lease to renew) so they pick up the new DNS. You can verify on a laptop with
nslookup doubleclick.net- AdGuard should return0.0.0.0. - Can’t change router DNS? Some ISP routers don’t allow it. Either put your own router in front, or set the DNS manually per-device pointing at
192.168.68.110.
With the router updated, every device on the network now resolves through AdGuard. Check the AdGuard dashboard - you’ll see queries rolling in and a blocked-percentage climbing.
Some devices quietly ignore all of this. A handful of devices won’t use the DNS server your router hands out, so they skip AdGuard entirely - no ad-blocking, and your *.home.arpa names won’t resolve. There are two common culprits:
- Private DNS. Phones - especially Android and iOS - ship with a private DNS feature (Android’s “Private DNS”, or encrypted DNS / iCloud Private Relay on iOS) that tunnels queries straight to a public resolver like Cloudflare or Google. This is the single most common reason “DNS works on my laptop but not my phone.”
- Hardcoded public DNS. Many smart TVs, streaming sticks, and IoT gadgets are configured to talk to
8.8.8.8(or similar) directly, ignoring the DHCP-provided DNS completely.
If a device isn’t being filtered or can’t open your local domains, look in its network settings and switch DNS back to Automatic / DHCP (and turn off any private-DNS option). The truly stubborn ones can be forced back in line by redirecting outbound port 53 at the router - but that’s a topic for another day.
Step 5: Add the Caddy Reverse Proxy
Now for the nice URLs. Caddy will sit in front of everything, listening on port 80 and routing by hostname. Create its folder:
mkdir -p ~/apps/proxyCreate ~/apps/proxy/docker-compose.yaml:
services: caddy: image: caddy:2 container_name: caddy restart: unless-stopped ports: - "80:80" volumes: - ./Caddyfile:/etc/caddy/Caddyfile - ./data:/data networks: - reverse-proxy
networks: reverse-proxy: name: reverse-proxyThen the config itself, ~/apps/proxy/Caddyfile. This is where the routing lives:
# Only answer for our local home.arpa names...http://*.home.arpa { @dns host dns.home.arpa handle @dns { reverse_proxy adguardhome:80 }
@portainer host portainer.home.arpa handle @portainer { reverse_proxy portainer:9000 }}A word on that reverse-proxy network
You’ve seen reverse-proxy in every compose file so far, so it’s worth a proper explanation - it’s the glue that makes this whole setup tidy.
By default, containers from different Compose projects can’t talk to each other. We fix that by putting Caddy and every service it fronts onto one shared Docker network, which we named reverse-proxy. Two things fall out of that:
- Name-based addressing. Docker runs its own DNS inside that network, so containers can reach each other by container name. That’s why
reverse_proxy adguardhome:80just works - Caddy looks upadguardhomeon the shared network, no IP addresses to track or hardcode. - No published ports on the backends. Because Caddy reaches services over the internal network, those services don’t need to publish their web ports to the host at all. Only Caddy publishes port 80. Everything else stays private on the Docker network and is reachable only through the proxy - which is both cleaner and safer.
The first compose file to mention reverse-proxy creates it; every other one just joins it with the same block we’ve used in each service:
networks: reverse-proxy: name: reverse-proxyFrom here on, every new service you add joins the same network and Caddy can route to it immediately.
One adjustment for Portainer: in part 2 Portainer wasn’t on this network, and we reached it on its HTTPS port 9443. To put it behind Caddy, add it to the reverse-proxy network too. Portainer already listens on plain HTTP port 9000 internally, so you don’t need to publish any port for it anymore - Caddy reaches it by name at portainer:9000. That’s why the Caddyfile above points there.
Create the Caddyfile before you start the container. We’re bind-mounting ./Caddyfile into Caddy. If that path doesn’t exist yet when you run docker compose up, Docker “helpfully” creates it - as an empty directory, not a file - and Caddy fails to start with a confusing error. So make sure the file is there first:
cd ~/apps/proxytouch Caddyfile # only if you haven't created it already(If Docker already turned it into a directory, stop the container, rmdir Caddyfile, create the file properly, and bring it back up.)
Bring Caddy up:
cd ~/apps/proxydocker compose up -dCaddy is now listening - but if you visit http://portainer.home.arpa right now, your browser still has no idea what IP portainer.home.arpa is. That’s the last piece.
Step 6: Add Custom Domains with AdGuard DNS Rewrites
Here’s where AdGuard and Caddy connect. We need portainer.home.arpa (and any other *.home.arpa name) to resolve to the home lab’s IP, so the browser sends the request to Caddy. AdGuard does this with DNS rewrites.
Since we’re treating everything as config-as-code, we’ll add them straight to AdGuard’s config file rather than clicking through the dashboard - that way the change lands in Git with the rest of your setup. AdGuard owns and rewrites this file itself, so the safe way to hand-edit it is to stop the container first:
cd ~/apps/adguardhomedocker compose stopOpen ~/apps/adguardhome/conf/AdGuardHome.yaml, find the filtering: section, and add the two rewrites under it (a rewrites_enabled: true flag lives in the same section - make sure it’s on):
filtering: # ...existing settings left as-is... rewrites_enabled: true rewrites: - domain: home.arpa answer: 192.168.68.110 enabled: true - domain: "*.home.arpa" answer: 192.168.68.110 enabled: trueThen start it back up so AdGuard reads the new config:
docker compose startThe wildcard is the magic: it means every something.home.arpa name resolves to your server, so you never have to touch AdGuard again - adding a service is just a new block in the Caddyfile.
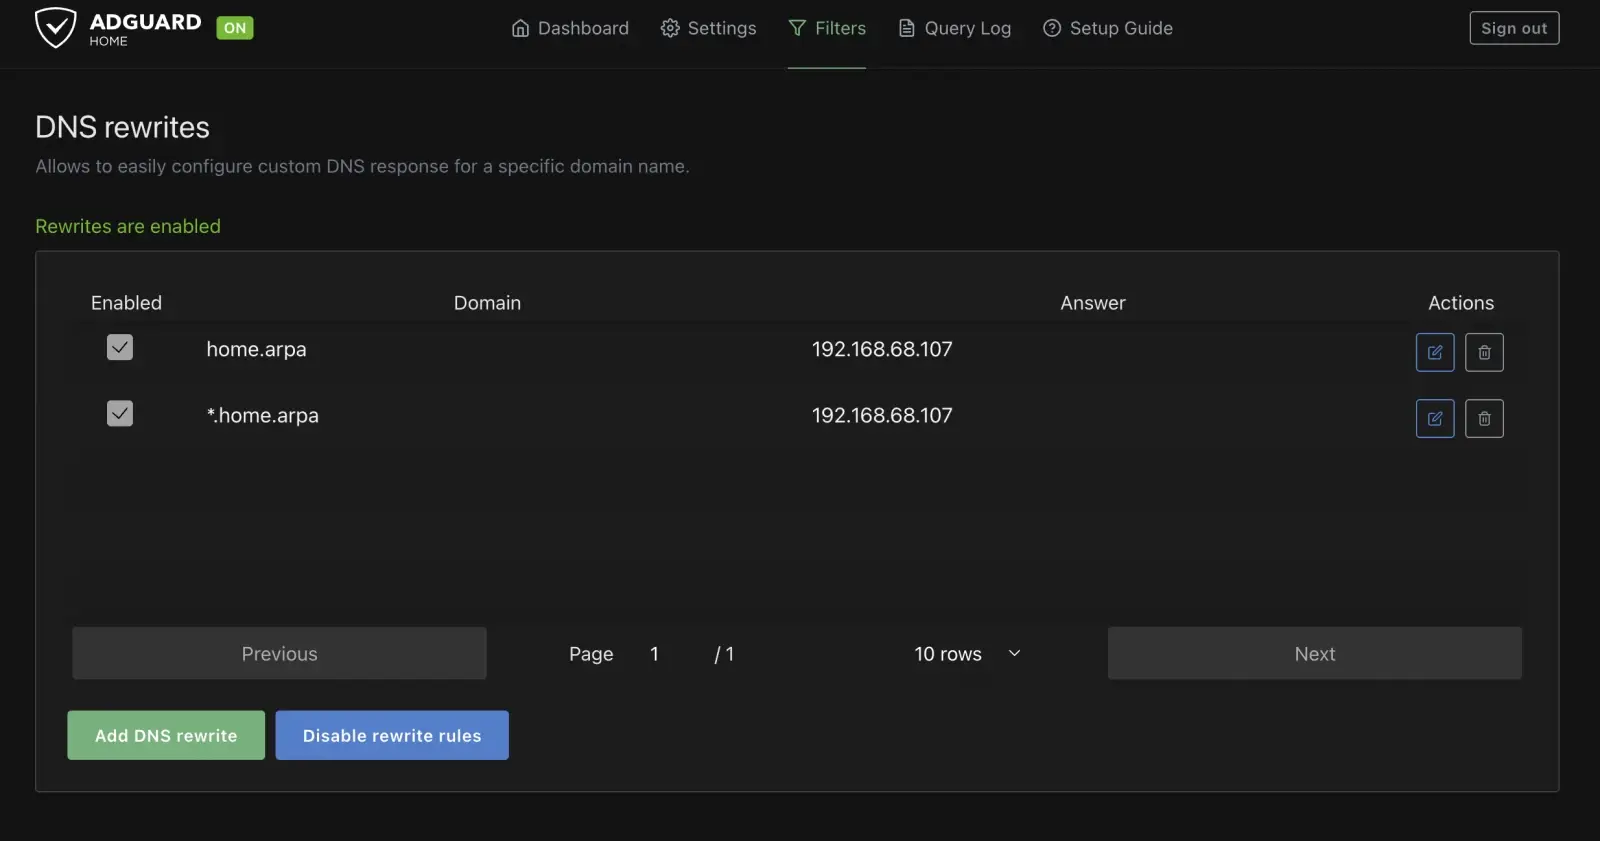
Prefer the dashboard? You can do exactly the same thing in the UI: go to Filters → DNS rewrites → Add DNS rewrite and add home.arpa and *.home.arpa, both answering with your server’s IP. AdGuard just writes those entries into the same AdGuardHome.yaml for you, so the end result is identical - the config-file route simply keeps the change in version control.
Now the full chain is live. Open:
http://dns.home.arpahttp://portainer.home.arpaThe request resolves through AdGuard to your server, Caddy reads the hostname and forwards to the right container, and you get a clean, memorable URL. Adding a new service from now on is two small steps: a handle block in the Caddyfile, and - thanks to the wildcard - nothing at all in AdGuard.
Step 7: Commit It
Same habit as part 2 - your config is code. From ~/apps:
git add adguardhome/docker-compose.yaml proxy/git commit -m "Add AdGuard Home and Caddy reverse proxy"Make sure your .gitignore still excludes the data directories (adguardhome/work, adguardhome/conf, proxy/data) so you commit the recipe, never the runtime data or any secrets.
What’s Next?
You’ve gone from “memorise this IP and port” to a network where ad-blocking is automatic and every service has a clean http://name.home.arpa address. The pattern scales beautifully: each new service is just another folder, another handle block, and it’s instantly reachable by name.
Coming up in the series:
- The media stack - the *arr apps, Jellyfin, and a download client safely behind a VPN, all fronted by Caddy
- Photos - self-hosting a Google Photos replacement with Immich (and using the N100’s iGPU for face recognition)
- Monitoring - Grafana, Prometheus, Loki, and Alloy keeping an eye on everything
- Going public, safely - real HTTPS certificates, exposing select services to the internet, and hardening Caddy with single sign-on (Authelia) and intrusion prevention (CrowdSec)
That last one upgrades the simple local proxy from this post into the security-hardened setup I actually run. Until then - enjoy the ad-free, IP-free home lab.